2010-2024 4Runner 4.0L Oil Capacity (6.6 qt) and Oil and Filter Change
Quick safety check before you begin. Required: safety glasses, gloves, and the truck level on a lift or on jack stands with the wheels chocked. Recommended: a drain pan, a torque wrench, and the filter cap wrench. Toyota's own caution on this job: used engine oil removes the natural oils from skin and contains contaminants, so wear gloves that oil cannot penetrate and wash with soap and water, never solvents.
What you need
Parts
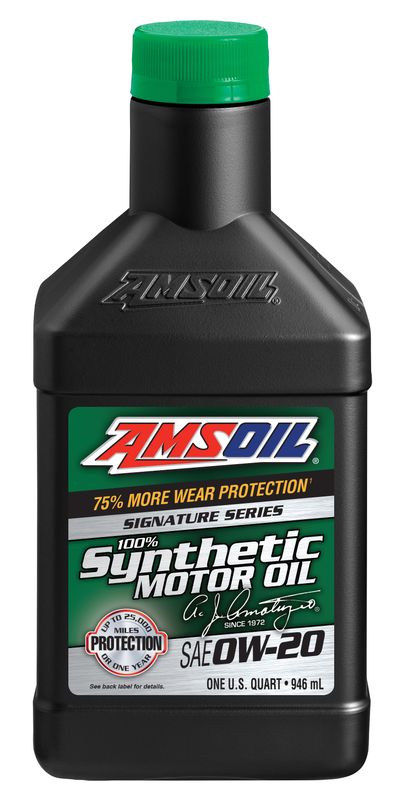
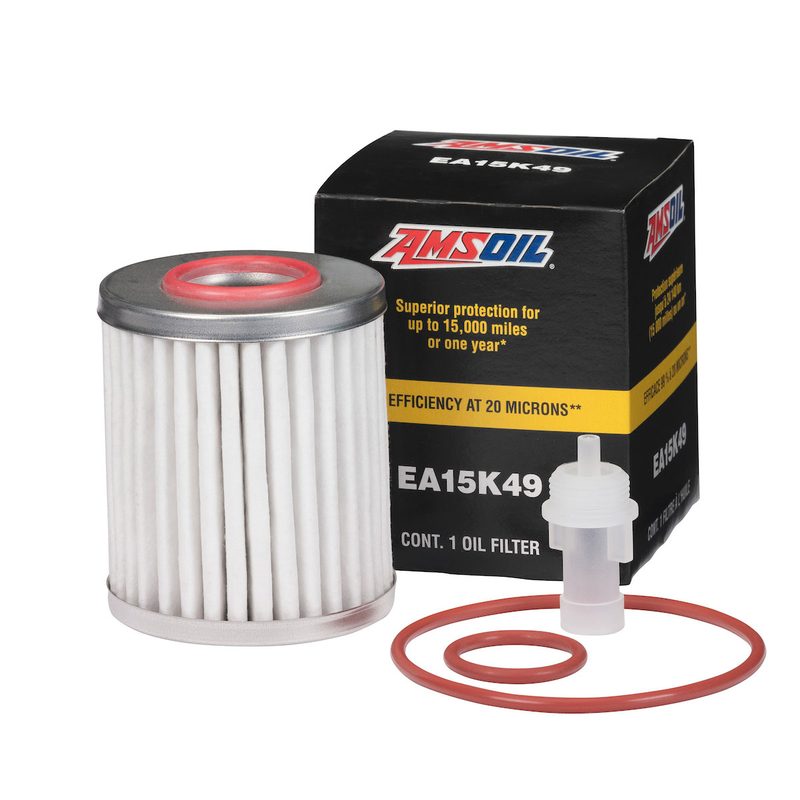
Tools
- Oil filter cap wrench (Toyota SST 09228-06501)
- Torque wrench: 40 N·m, 25 N·m and 13 N·m
- Drain pan and a hose with a 15 mm (0.591 in.) inside diameter for the filter drain
- Lift, or jack stands and wheel chocks; the truck must be level
- Safety glasses and gloves
The numbers
| Oil grade | ILSAC multigrade engine oil, SAE 0W-20. If 0W-20 is not available Toyota allows SAE 5W-20, but says it must be replaced with 0W-20 at the next oil change. |
|---|---|
| Capacity, with filter | 6.6 US qt (6.2 L) |
| Capacity, without filter | 6.0 US qt (5.7 L) |
| Oil pan drain plug | 40 N·m (30 ft-lb), new gasket |
| Oil filter cap | 25 N·m (18 ft-lb), SST 09228-06501 |
| Oil filter drain plug | 13 N·m (10 ft-lb) |
| No. 1 engine under cover bolts | 29 N·m (21 ft-lb) |
| Front bumper cover lower | 8.0 N·m (71 in-lb) |
| Level check | Warm the engine, stop it, wait 5 minutes, then read the dipstick between the low and full marks |
Step by step
Get the truck level and open the underside
Park level, on a lift or on jack stands with the wheels chocked. Remove the 2 bolts and the engine under cover seal. Remove the 2 bolts and clip and disconnect the front bumper cover lower. Remove the 4 bolts and open the No. 1 engine under cover.
Drain the pan
Remove the oil filler cap first, so the pan drains freely. Remove the oil pan drain plug and drain the oil into a container. Install a NEW gasket and the drain plug, torqued to 40 N·m (30 ft-lb).
Drain the filter housing, the step most people skip
The cartridge filter housing holds oil of its own. Connect a hose with a 15 mm (0.591 in.) inside diameter to the pipe, remove the oil filter drain plug, and fit the pipe to the oil filter cap so the housing empties into your pan. If the O-ring comes away with the drain plug, install it together with the pipe. This is where the overfill comes from: leave this oil in and a fresh 6.6 quarts sits on top of it.
Change the element
With the housing drained, use SST 09228-06501 to remove the oil filter cap. Do not remove the oil filter bracket clip. Take the element and O-ring out of the cap, removing the cap O-ring by hand and not with a tool, which protects the groove. Clean the inside of the cap, its threads and its O-ring groove.
Fit the new element and both O-rings
Oil a new O-ring lightly and fit it to the cap. Set the new element in the cap. Wipe the engine's sealing face clean, oil the O-ring again, and start the cap by hand. Tighten the cap with the SST to 25 N·m (18 ft-lb). Oil a new drain plug O-ring, fit it, and install the filter drain plug at 13 N·m (10 ft-lb). On both, make sure the O-ring is not pinched between parts.
Fill, then set the level
Add about 6 quarts rather than the full 6.6, then check. Toyota's method: warm the engine, stop it, wait 5 minutes, and read the dipstick. The level belongs between the low and full marks. Top up to the full mark if it sits low. Toyota's instruction is explicit: do not fill engine oil above the full level mark.
Check for leaks and close up
Start the engine and confirm there are no leaks anywhere you worked. Install the 4 bolts to close the No. 1 engine under cover at 29 N·m (21 ft-lb), reconnect the front bumper cover lower with its 2 bolts and clip at 8.0 N·m (71 in-lb), and install the engine under cover seal with its 2 bolts at 29 N·m (21 ft-lb). Reset the maintenance reminder light if the truck has one.
Rather we did it?
We do fluid and filter service at scheduled events across Minnesota, Iowa, Wisconsin, North Dakota, South Dakota and Nebraska, and we stock the oil and the filter. If you would rather hand it to someone, book a slot.
Find your exact tune →Questions owners ask
ILSAC multigrade SAE 0W-20. The Toyota repair manual for this engine adds that if SAE 0W-20 is not available, SAE 5W-20 may be used, but it must be replaced with SAE 0W-20 at the next oil change. We checked the 2010 and 2013 manuals for the 4.0L V6 and both print the same specification.
6.6 US quarts (6.2 L) with the filter, and 6.0 US quarts (5.7 L) without. Order 7 quarts for a filter change.
Because the cartridge oil filter housing holds oil and has its own drain plug. Toyota's procedure empties the housing through a hose before the cap comes off. If you skip that step, the housing stays full and the fresh 6.6 quarts goes in on top of it. Fill about 6 quarts first, then set the level on the dipstick.
Warm the engine, stop it, and wait five minutes before reading the dipstick. The level should sit between the low and full marks. Toyota's manual states plainly: do not fill engine oil above the full level mark.
40 N·m, which is 30 ft-lb, with a new gasket every time. The oil filter cap is 25 N·m (18 ft-lb) and the filter housing's own drain plug is 13 N·m (10 ft-lb).
More for the 2010–2024 4Runner
Grade, capacities, torques and procedure are from the Toyota repair manual for the 4.0L V6 (1GR-FE) 4Runner; we verified the grade and capacity against both the 2010 and 2013 manuals. Confirm specs for your exact year and torque to spec. AMSOIL's coverage of this application is AMSOIL's published claim. Tuned Yota is an independent AMSOIL dealer; parts links are our store.